# Set Up
I have just signed up for my case management company. What actions do I need to complete the setup for my company?
TBD
How can I see what my team is working on?
In FieldWorker, there are several different roles for you and your team, which will give each of you access to the parts of the platform that you need.
For admins and managers, you’ll be able to see an overview of your team’s tasks, including any updates and notes they’ve added. You’ll also have access to their timesheet entries, which you’ll be able to approve and amend as necessary.
Read more about the different team roles on FieldWorker [here](https://fieldworker.tawk.help/article/how-to-manage-team%E2%80%99s-roles).
Can the Fieldworker capture the different types of tasks?
Yes! The fieldworker is flexible. When you’re setting a task, you can choose the kind of task it is, with options ranging from a phone call to a CBS visit to Planning and Checklists. Check out [this page](https://fieldworker.tawk.help/article/how-to-create-checklists) as an example for setting up a task as a checklist.
How can I delegate tasks to my team?
Once you’ve invited your team to join you on the FieldWorker platform, you’ll be able to assign tasks directly to them. When you [add a new task](https://fieldworker.tawk.help/category/how-to-use-fieldworker/managing-your-tasks), you’ll have the chance to add all required information, including who in your team will be working on it. They’ll then see it in their list of tasks along with all the relevant information.
What are various roles in the Fieldworker?
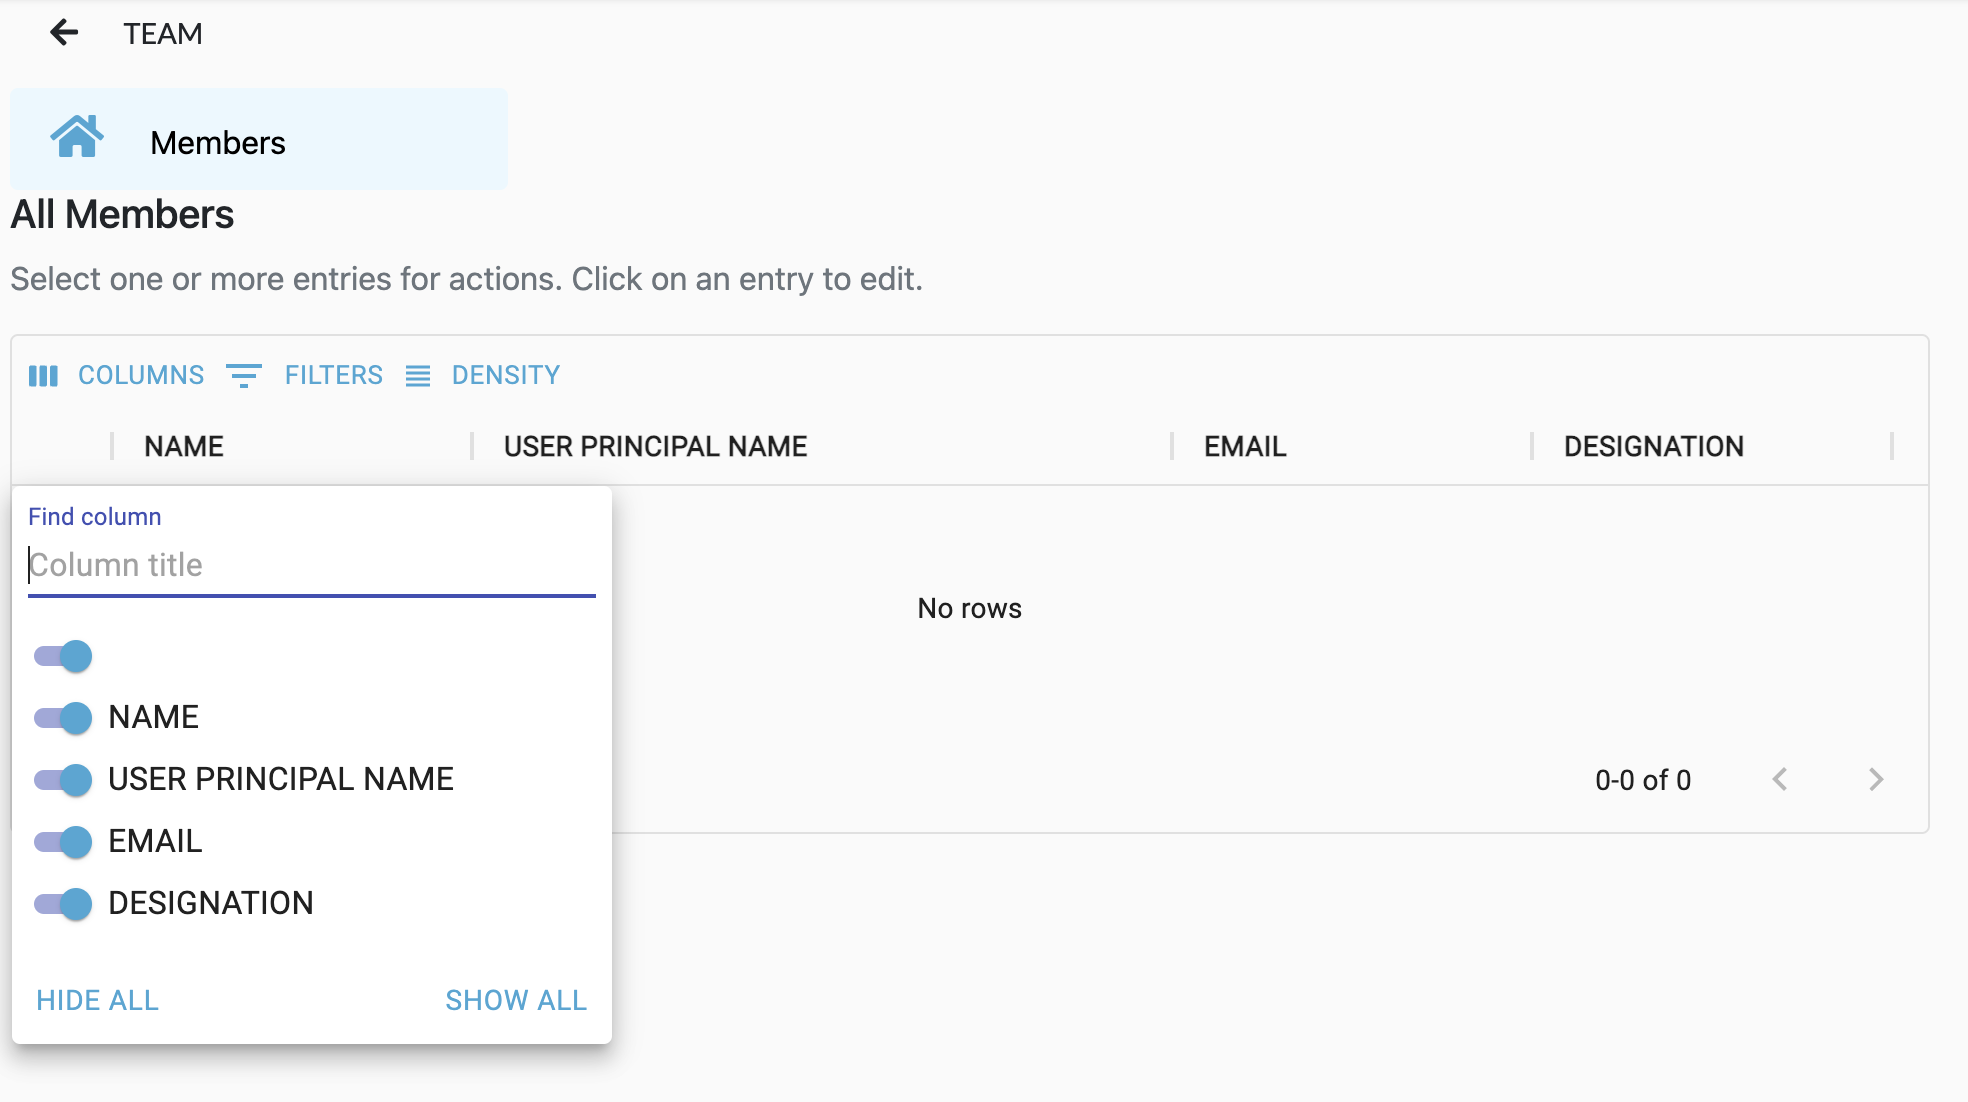
Once you've logged into FieldWorker, click on the name of your agency in the top left-hand corner.

Here, you'll see an option for "Teams". Here, you'll be able to see an overview of your team who have joined you on FieldWorker, in addition to their usernames and designations.
 There are 3 different roles, and here's what they mean:
#### Admin
There will usually only be one admin user, and this will be the agency owner or whoever set up FieldWorker. Admins have the broadest overview, and have access to dashboards with high-level metrics to get a pulse on how the agency is doing. They are also able to invite and remove team members.
An admin has access to all employees and customers in the system.
#### Manager
Managers are able to see all tasks and projects for individuals within their teams, in addition to their own tasks and projects. They are able to assign tasks and projects to other team members and view timesheet entries for individuals across the team.
All employee-employee relationships defined outside the typical manager role will also have access to these employees and their customers.
#### Fieldworker / Support Coordinator / Case Manager
Fieldworkers are able to see their own tasks and projects, in addition to the information such as contacts and schedules related to their own work and an overview of their individual timesheet entries.
There are 3 different roles, and here's what they mean:
#### Admin
There will usually only be one admin user, and this will be the agency owner or whoever set up FieldWorker. Admins have the broadest overview, and have access to dashboards with high-level metrics to get a pulse on how the agency is doing. They are also able to invite and remove team members.
An admin has access to all employees and customers in the system.
#### Manager
Managers are able to see all tasks and projects for individuals within their teams, in addition to their own tasks and projects. They are able to assign tasks and projects to other team members and view timesheet entries for individuals across the team.
All employee-employee relationships defined outside the typical manager role will also have access to these employees and their customers.
#### Fieldworker / Support Coordinator / Case Manager
Fieldworkers are able to see their own tasks and projects, in addition to the information such as contacts and schedules related to their own work and an overview of their individual timesheet entries.
Who can I contact if I have questions, or need support?
Our team is here whenever you need us! We take great pride in partnering with organizations to make sure you get the benefits you need from FieldWorker, which is why any time you have questions, need support, or have suggestions, our team of dedicated and expert customer success managers will be available.
Does Fieldworker allow creation of checklists?
Checklists can help map out what needs to be done to complete a larger task, making it easier for your team to keep on track. On FieldWorker, when creating a task, you can define the type of task in question. One possible type of task is “Checklist”. This will mean the task will appear as an item to be ticked under the assigned employee’s “Checklists” section in the FieldWorker mobile app. See how it looks [here](https://fieldworker.tawk.help/article/how-to-create-checklists).
How do you add a new project?
\
[How to create a project](https://www.loom.com/share/133ce17a66a94e74bd2aaacccfa4c5d5?source=embed_watch_on_loom_cta)?
I already use another system – how can I transfer to FieldWorker?
Fieldworker lets you import your data from other systems your agency may have been using. Here's how to do it.
#### Importing your data from your state system e.g. iRecords
To import data from iRecords, you can download details from the Participant Record using the Search Tile on the main page. The Search Tile is typically located below the Duelist and the Alerts Tile on the dashboard. Once you have the CSV containing your data, follow the steps below to ensure it's formatted correctly and ready to import into FieldWorker.
#### Who can import data?
Only individuals who have the admin role can bulk import data.
**The CSV format**
To bulk import your data, you'll need to ensure it's in a CSV format and follows the example shown here. You can see the three columns and the various rows included, with example information filled out for each. The "Description" column defines the type of data in the central column.
[Check out this page with an example of a correctly formatted table.](https://fieldworker.tawk.help/article/how-to-import-your-data-to-fieldworker)
**Data Security**
Please note that any data you import must be data associated with your company only. Any data, not strictly associated with your company must be removed prior to import into FieldWorker.
**Where do I import my data?**
Once you have your CSV file, go to the "New" section in the side panel. You'll then need to select "Bulk Upload", where you'll be able to upload your CSV file.
**Need help**?
If you need some support with importing your data or you have a more complex case, we're here to help you! Get in touch with your dedicated support specialist and we can help you import your existing data.
I have forgotten my User ID. How can I recover it?
First, go to the [FieldWorker login page](https://app.fieldworker.ai/).
 Under the "Sign in with Microsoft" button, you'll see the option to recover your User ID. Click on "Click Here" after the question "Forgot your User ID".
You'll then see the following form:
Under the "Sign in with Microsoft" button, you'll see the option to recover your User ID. Click on "Click Here" after the question "Forgot your User ID".
You'll then see the following form:
 Enter your first name, last name, and company name, and then click on "Submit". Please note – the information you enter here needs to match the information you used to sign up with, including any capitals and spaces.
After you click on submit, you'll see the following message on the sign-in page:
Enter your first name, last name, and company name, and then click on "Submit". Please note – the information you enter here needs to match the information you used to sign up with, including any capitals and spaces.
After you click on submit, you'll see the following message on the sign-in page:
 If your details are correct, you'll receive an email with your User ID. You can then return to this login page and log in as normal.
If you didn't enter the details correctly, you won't receive an email. For security reasons, we aren't able to confirm here if the details you entered are correct (to prevent others from trying to access your account).
If you don't receive your User ID via email, check your spam folder, and try to recover it again, ensuring your name and company is correct in the form. If you continue experiencing issues, reach out to us by email at and we'll be happy to assist!
If your details are correct, you'll receive an email with your User ID. You can then return to this login page and log in as normal.
If you didn't enter the details correctly, you won't receive an email. For security reasons, we aren't able to confirm here if the details you entered are correct (to prevent others from trying to access your account).
If you don't receive your User ID via email, check your spam folder, and try to recover it again, ensuring your name and company is correct in the form. If you continue experiencing issues, reach out to us by email at and we'll be happy to assist!
My Fieldworker app on my Android phone is not working?
Having trouble running your favorite Android app? Read to learn how to fix the “Android app not working” issue with proven methods. At times, certain Android apps might not work, and you need to know how to fix the “Android app not working” issue. Continue reading for some effective approaches to resolve this problem.
### Method 1: Restart App
When an Android app doesn’t work, the first thing you should do is restart the app. The app might get stuck or crash — in both situations, restarting is an ideal option. But, you might be unable to close an app, and therefore, there is no scope for restarting. In that case, you need to force-stop an app before restarting it using the following steps:
* Find that app from the app drawer and tap it for a long time.
* Tap on **App info** from the options.
 * On the next screen, select **Force stop**.
* The app will be closed, and you can launch it again to see if it works.
### Method 2: Clear App Cache
If you’re not in the habit of regularly clearing your app cache data, you might run into this problem named “Android apps not working”. To clear the cache, follow these steps:
* Open the Android app drawer.
* Long tap the app that isn’t working properly.
* Tap on the **App info** or **(i) icon** and select **Storage & cache**.
* On the next screen, select **Force stop**.
* The app will be closed, and you can launch it again to see if it works.
### Method 2: Clear App Cache
If you’re not in the habit of regularly clearing your app cache data, you might run into this problem named “Android apps not working”. To clear the cache, follow these steps:
* Open the Android app drawer.
* Long tap the app that isn’t working properly.
* Tap on the **App info** or **(i) icon** and select **Storage & cache**.
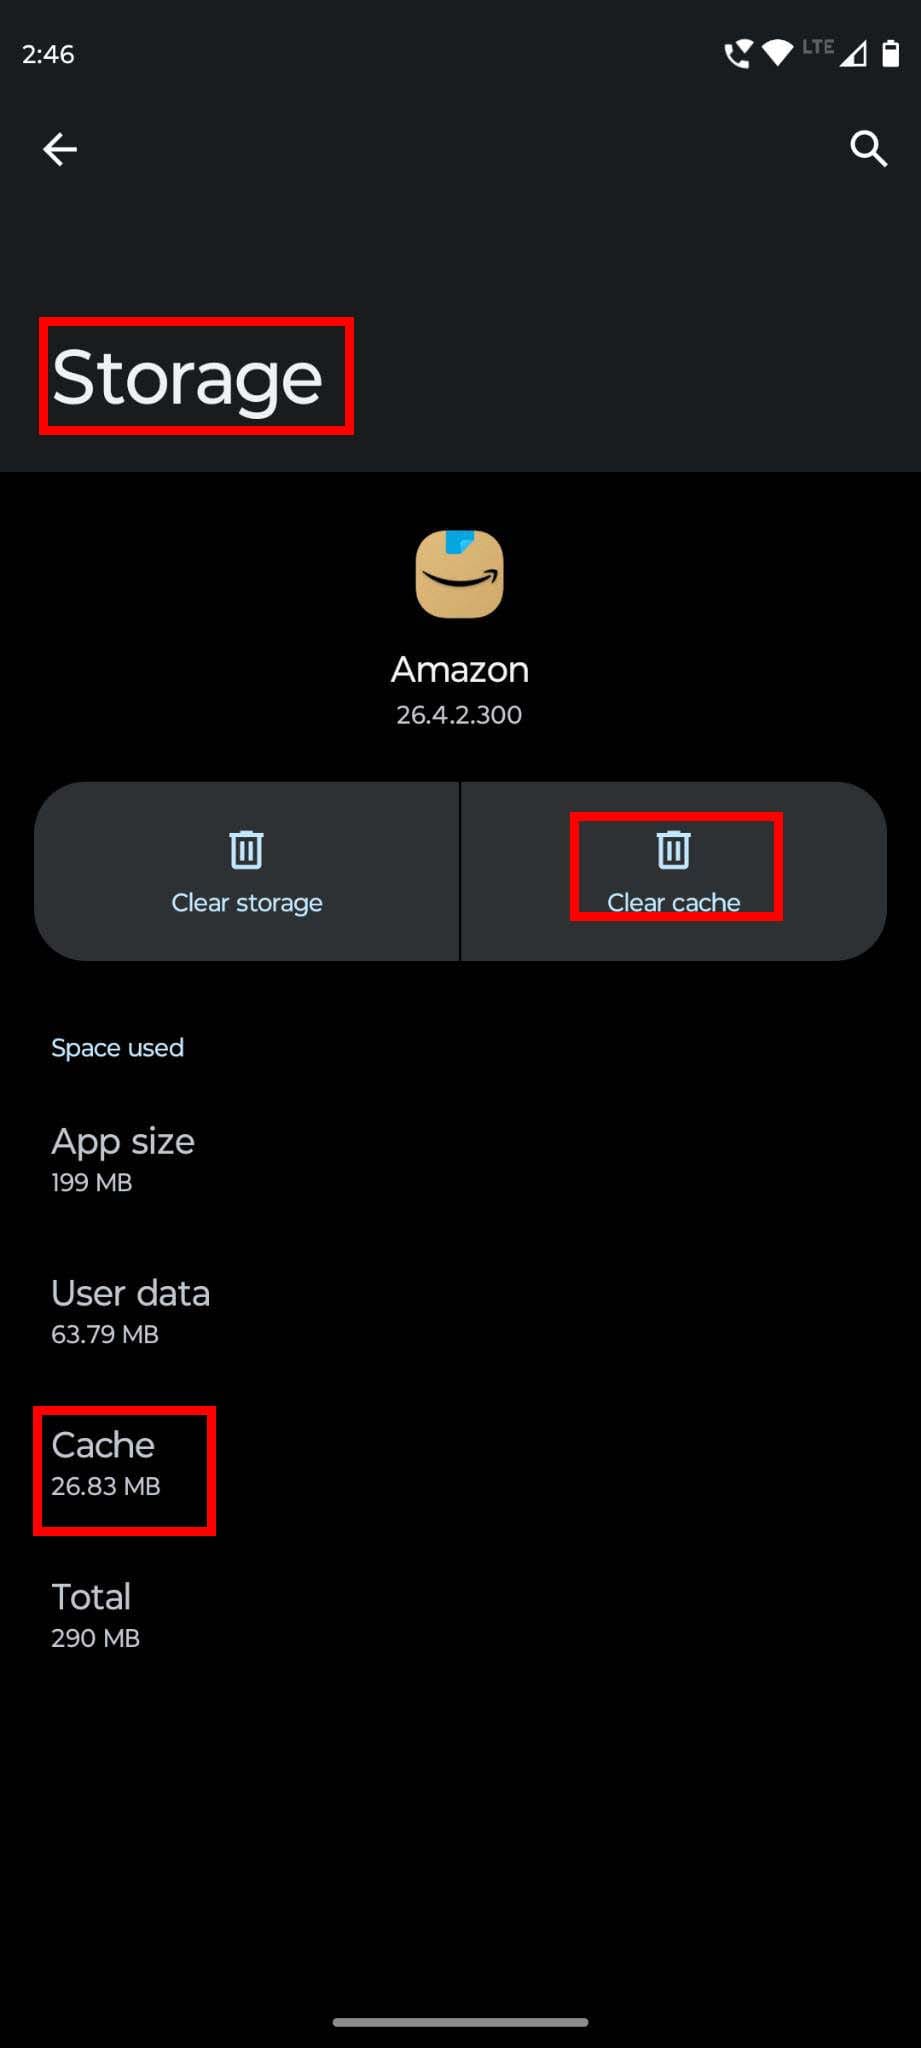 * Now, choose **Clear cache**.
### Method 3: Update the App
Are you using an outdated version of an app? It could be the reason why your Android app isn’t working. Most apps need you to update their versions manually, and if you don’t, it might not run on your device. To check if any updates are available, perform these steps:
* Go to Google Play.
* In the search bar, type the name of the app which isn’t working.
* From the suggestions, tap on the right app page.
* If any updates are available, you’ll see two options: **Update** or **Open**.
* Now, choose **Clear cache**.
### Method 3: Update the App
Are you using an outdated version of an app? It could be the reason why your Android app isn’t working. Most apps need you to update their versions manually, and if you don’t, it might not run on your device. To check if any updates are available, perform these steps:
* Go to Google Play.
* In the search bar, type the name of the app which isn’t working.
* From the suggestions, tap on the right app page.
* If any updates are available, you’ll see two options: **Update** or **Open**.
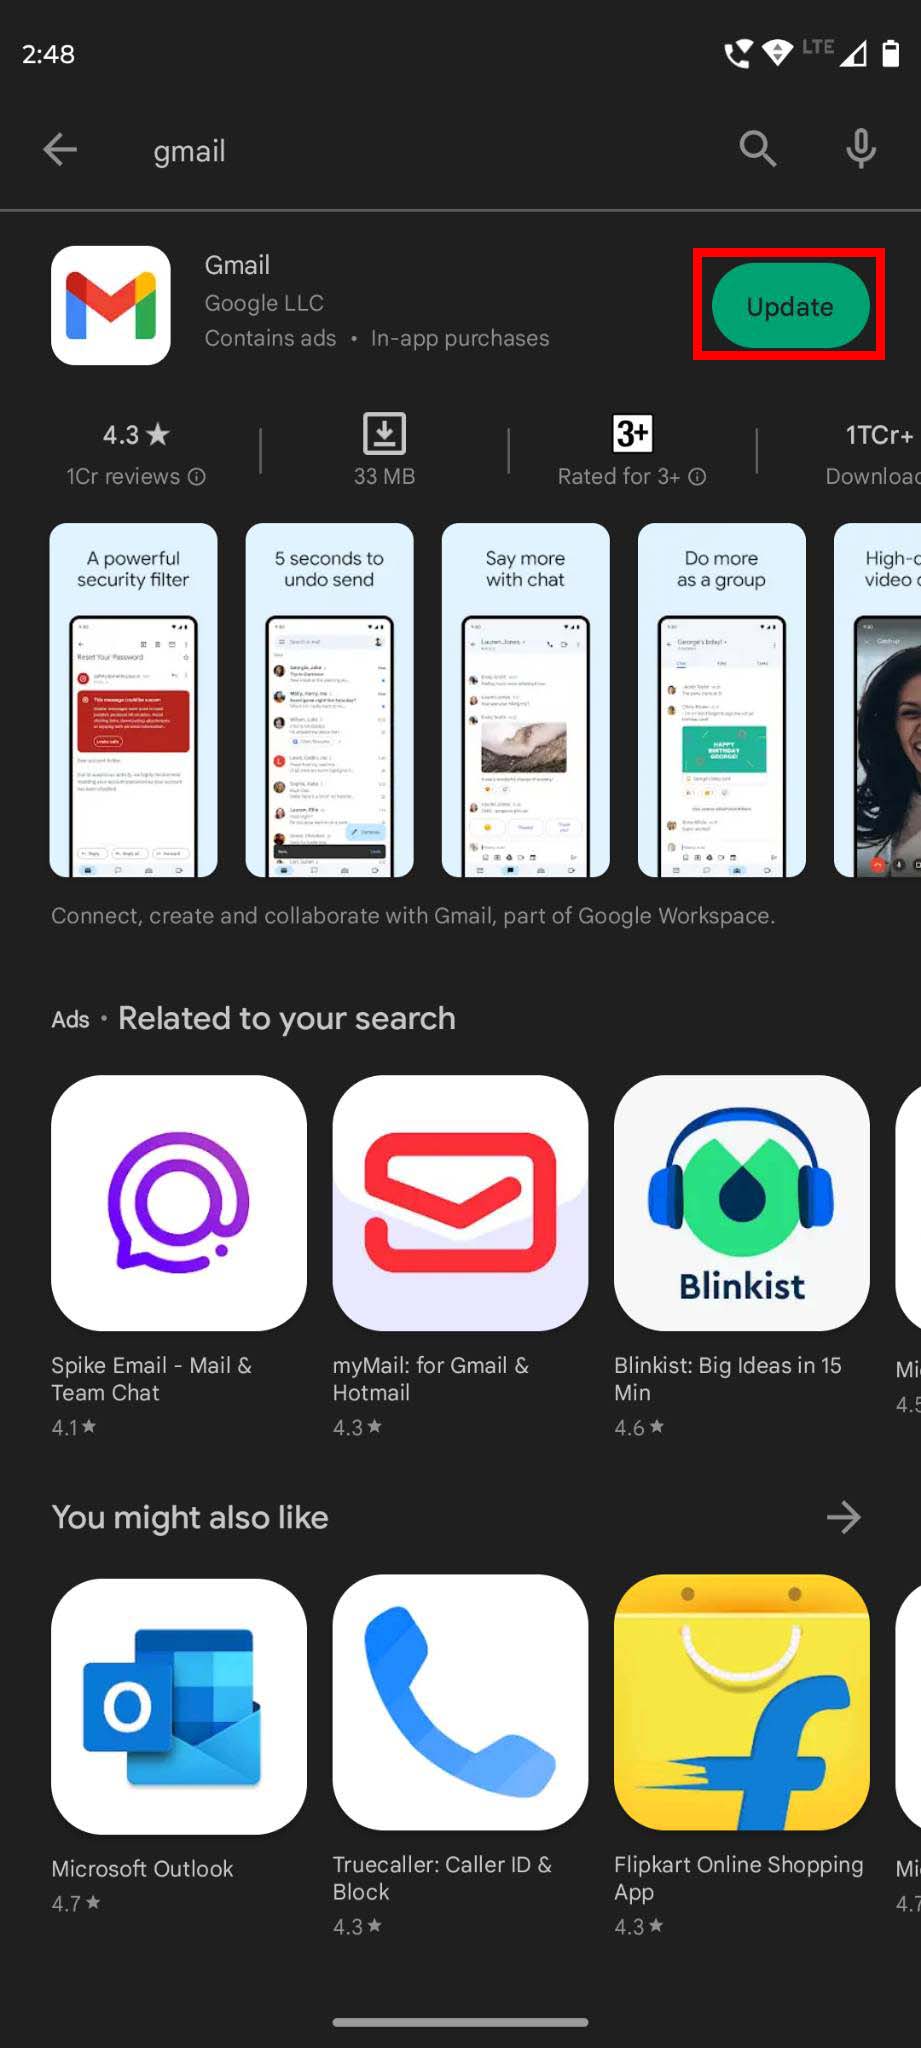 * Tap **Update** and wait till the latest version has been updated.
Now, open the app and see if it’s working properly or not. If you were unable to fix the issue, move on to the next method mentioned below.
### Method 4: Reinstall the App
If you’re already using the updated version of the app or if updating doesn’t fix “Android apps not working” problem, you can try uninstalling and reinstalling the app. To uninstall, long tap on the app icon on your phone home screen and select **Uninstall** when it appears. Again, tap on **Uninstall** to confirm. Now, visit Google Play and install the app again.
### Method 5: Free Up Device Storage Space
* Tap **Update** and wait till the latest version has been updated.
Now, open the app and see if it’s working properly or not. If you were unable to fix the issue, move on to the next method mentioned below.
### Method 4: Reinstall the App
If you’re already using the updated version of the app or if updating doesn’t fix “Android apps not working” problem, you can try uninstalling and reinstalling the app. To uninstall, long tap on the app icon on your phone home screen and select **Uninstall** when it appears. Again, tap on **Uninstall** to confirm. Now, visit Google Play and install the app again.
### Method 5: Free Up Device Storage Space
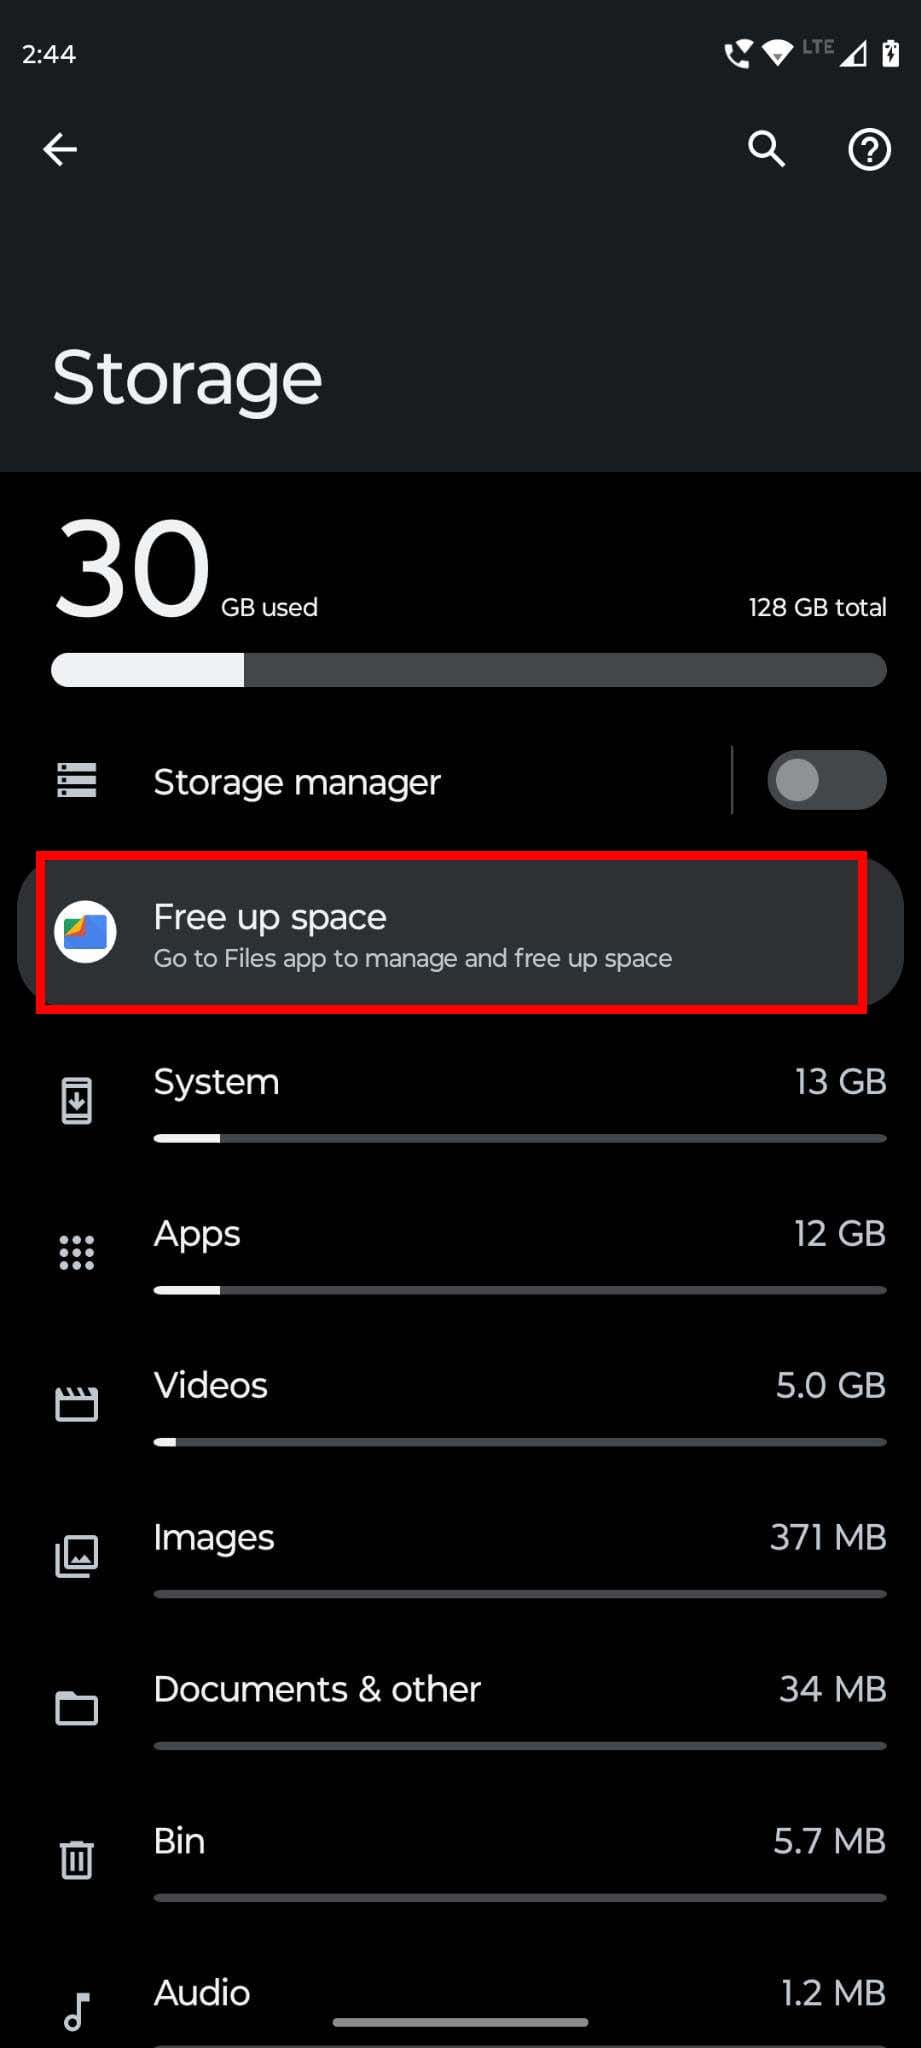 Does your internal storage have sufficient space to run an app? Whenever an Android app doesn’t work, you need to check the available storage of your phone. If it’s running out of space, you need to delete some files from it and make room for the app to run properly.
### Method 6: Restart Your Phone
No matter how generic this method might sound, restarting Android phones sometimes resolves different issues, including “Android apps not working”. So, if none of the above fixes work, you can try it. Just restart or reboot the phone.
Once the device reboots and shows the home screen, try to launch the app that wasn’t working previously. If the issue gets resolved, that’s great! If not, continue to the next troubleshooting method.
Does your internal storage have sufficient space to run an app? Whenever an Android app doesn’t work, you need to check the available storage of your phone. If it’s running out of space, you need to delete some files from it and make room for the app to run properly.
### Method 6: Restart Your Phone
No matter how generic this method might sound, restarting Android phones sometimes resolves different issues, including “Android apps not working”. So, if none of the above fixes work, you can try it. Just restart or reboot the phone.
Once the device reboots and shows the home screen, try to launch the app that wasn’t working previously. If the issue gets resolved, that’s great! If not, continue to the next troubleshooting method.
How do we get my company signed up for billing?
1. Sign up only for Billing
2. You will receive an email from us
1. Print and fill out company-specific information present in the 201 and 801 forms sent to you via email. The forms would require an original signature.
2. Please check all the information for accuracy.
Pay special attention to your Provider NPI Id, Provider#, and Provider address - This address should be the same as the address that the Provider registered with Medicaid
Once the forms are completed & signed they should be mailed to :- Mailing Address
FieldWorker
Attn: EDI Integration
12 Roszel Road, Suite B101
Princeton, NJ 08540
Note:- NJMMIS will reject the form if any of the information present does not coincide with the information registered with for NJMMIS
3. You will receive a billing agreement Please read through it carefully before signing and sending it back.
4. An email with a link to schedule a 30-minute Zoom call will be sent to you, please present 2 sample CMS 1500 forms for our representatives to analyze.
5. You would need to send us a total of 5 transactions (2 from Sample CSV) in the format explained during the Zoom meeting.
6. After a 7-day wait period an email will be sent out to you confirming that the transactions went through, this email will also include the remittance report generated through NJMMIS.